
You’re looking at solar panels to charge your batteries, but there’s more to it than just connecting wires. Experts report that matching voltages between panels and batteries prevents damage, while charge controllers act as essential safety devices. The wrong setup can destroy expensive equipment. Industry data shows proper connections increase efficiency by 40%. But here’s what most people don’t realize about the wiring process.
Selecting Compatible Solar Panels and Batteries for Your System
When you’re setting up a solar charging system, the voltage of your solar panels needs to match your battery’s voltage. For a 12V battery, you’ll need 12V solar panels to create a working system. The panel’s wattage depends on your battery’s capacity. A 100 amp-hour battery typically requires at least 120 watts to charge within 10 hours, according to equipment specifications. Your battery type affects the power requirements. Lithium-ion batteries need higher wattage panels than lead-acid versions due to different charging characteristics. The battery’s amp-hour rating and chemistry determine how much energy it can store. Equipment manuals contain specific compatibility details between solar panels, batteries, and charge controllers. These documents help prevent system damage and maintain efficient operation. Additionally, understanding battery chemistry differences like lithium-ion versus LFP is crucial for selecting the right components for your solar system.
Essential Components Needed for Solar Battery Charging
Your solar battery charging system requires four main components to work properly. You’ll need a solar panel that’s powerful enough for your battery size. A 120-watt panel works well for a 100 Ah solar battery.
The solar charge controller is the system’s brain. It stops your battery from overcharging by managing voltage and current flow. Different battery types need different controllers. Lithium batteries often require special controllers.
You’ll also need battery cables to connect everything. These cables must be the right thickness. Thin cables can overheat and waste power.
Many people add monitoring equipment too. A battery monitor shows you how much charge you’ve got and whether your battery’s healthy. This helps you track your system’s performance.
Incorporating battery storage with solar power enhances energy independence, providing a reliable power source even during outages.
Understanding Charge Controller Types and Their Functions
You’ll need to choose between two main types of charge controllers for your solar battery system. PWM controllers work well for smaller setups and cost less, while MPPT controllers harvest more energy from your panels but come with a higher price tag. The right controller size depends on your solar panel’s voltage output and your battery’s specifications, so you’ll need to match these numbers carefully to avoid damaging your equipment. It’s important to calculate your daily energy needs accurately to ensure your system runs efficiently and reliably.
PWM Vs MPPT Controllers
If you’re connecting solar panels to charge a battery, you’ll encounter two main types of charge controllers: PWM and MPPT. PWM controllers are simpler and cheaper. They’re good for small solar systems. MPPT controllers cost more but work better. They can harvest up to 30% more energy than PWM controllers.
During the charging process, PWM vs MPPT controllers work differently. PWM controllers adjust pulse widths to control battery voltage. MPPT controllers track the panels’ maximum power point. They convert extra voltage into more current.
MPPT controllers perform better in cloudy weather. They’re recommended for high-voltage panels. PWM controllers work fine for basic setups. Your choice depends on your system’s needs. Both types protect batteries from overcharging.
Controller Selection Criteria
Now that we’ve covered the differences between PWM and MPPT types, let’s look at what factors matter when picking a charge controller. First, you’ll need to match the controller to your system’s voltage. Most systems run at 12V, 24V, or 48V. The controller’s rating must exceed your solar panels’ combined output. This guarantees it can handle the maximum current safely.
Your battery type is another necessary component to take into account. Lead-acid and lithium-ion batteries need different controller settings. You’ll want to check compatibility before buying.
Many controllers offer built-in protections against reverse polarity and overload. The charge controller’s display shows real-time data about battery status and energy production. These features help monitor your system’s performance.
Proper Controller Sizing
Proper sizing of a charge controller starts with calculating your solar panel system’s total wattage. You’ll need to match the controller’s amp rating with your solar array’s output. For instance, a 30A controller handles about 360 watts on a 12V system.
The math’s straightforward. Divide your total panel wattage by the system voltage to find the required amperage. If you’ve got 400 watts of panels on a 12V system, you’d need at least a 35A controller.
Charge controllers must also match your battery voltage. Most systems use 12V, 24V, or 48V configurations. The controller’s settings depend on battery type too. Lead-acid batteries require different charging parameters than lithium batteries. Getting the size right guarantees your system runs efficiently and protects your investment.
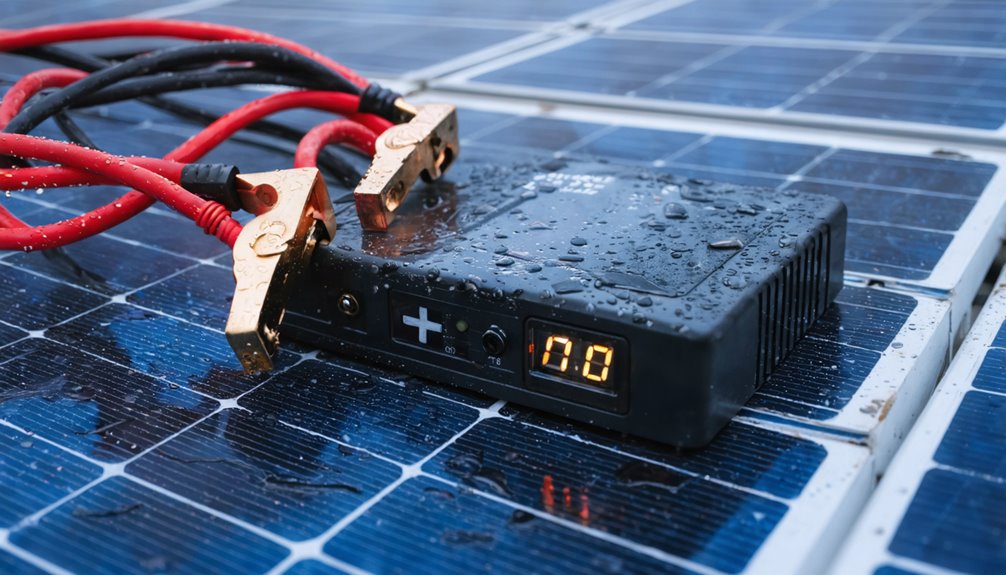
Connecting Your Battery to the Charge Controller
Connecting a battery to a charge controller involves two main, straightforward steps. You’ll first locate the terminals marked “Battery” or “Load” on your charge controller, which indicate where you’ll make your connections. Next, match positive to positive and negative to negative. The battery’s positive terminal connects to the charge controller’s positive terminal, and the same goes for the negative terminals. Using the right wire gauge prevents shorts and damage. Double-checking polarity safeguards your system, as reverse connections can destroy batteries and equipment. You’ll also verify all connections are tight, with no exposed wires. Finally, confirm the controller settings match your battery type, whether it’s lead-acid or lithium-ion. This guarantees proper charging when connecting the solar system components. Keep in mind that factors like battery capacity and depth of discharge are crucial for ensuring efficient battery performance in your solar setup.
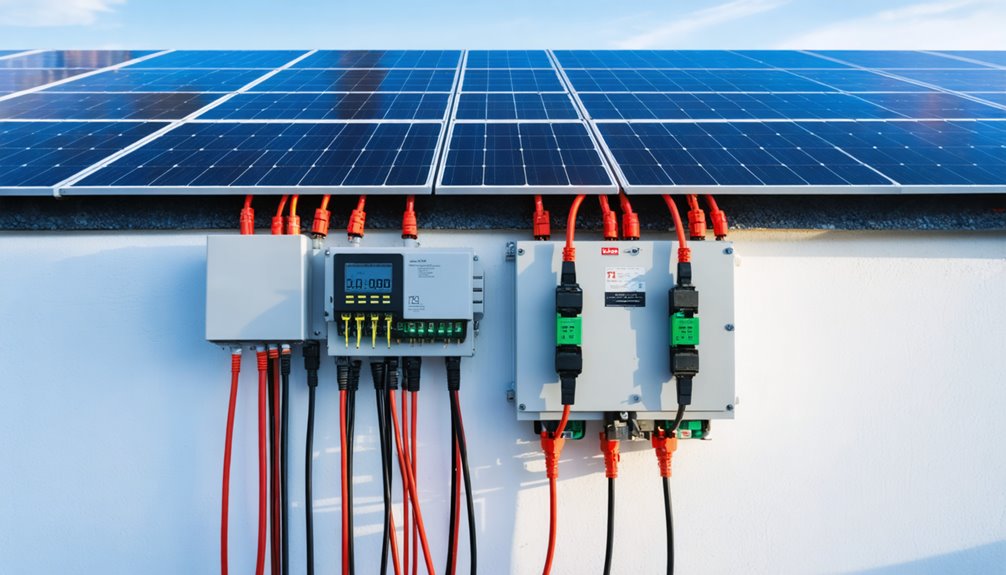
Wiring Solar Panels to the Charge Controller
You’ll need to identify the correct terminals on your charge controller before connecting your solar panels. The charge controller has terminals marked “Solar Panel” or “PV Input” where you’ll attach the positive and negative wires from your panels. Making these connections properly guarantees your solar charging system works safely and efficiently. For immediate assistance and quotations, ensure you have accurate measurements and specifications ready to expedite the process.
Identifying Connection Terminals
Connection terminals serve as the critical meeting points where solar panels link to charge controllers. You’ll find these terminals clearly marked on most charge controllers. They’re usually labeled “Solar Panel” or “PV Input.” The positive (+) and negative (-) symbols help you match the correct wires from your solar power system.
These components to connect include screw-type terminals or push-in connectors. They’re designed to handle the electrical current flowing from your panels. Most controllers display their terminals on the front or side of the unit. You’ll notice they’re separated to prevent accidental short circuits.
The terminals come in different sizes based on the controller’s capacity. Larger controllers have bigger terminals that accept thicker wires. This design guarantees safe power transfer throughout your system.
Proper Wire Attachment
After identifying the correct terminals, the next step involves attaching wires that carry power from solar panels to the charge controller. You’ll connect the panel’s positive terminal to the charge controller’s positive input. The negative terminals connect the same way.
Wire gauge matters for solar energy systems. Thicker wires handle more current without overheating. This prevents damage during operation. Weather-resistant connectors work best for outdoor setups. They’ll last longer in rain and sun.
Before connecting anything, you’ll check that voltage ratings match between panels and the charge controller. Mismatched voltages can destroy equipment. You’ll also secure all connections tightly. Loose wires cause short circuits and safety problems. These steps guarantee your solar energy flows safely from panels to batteries.
Verifying Secure Connections
The final step before powering on requires checking every wire connection between solar panels and the charge controller. You’ll need to verify that each connection is secure and properly attached.
The positive wire from your photovoltaic panels must connect firmly to the positive terminal on the charge controller. This terminal is usually labeled “Solar Panel” or “PV Input.” The negative wire needs the same secure attachment to its corresponding terminal.
Installers report that loose connections are a common problem. They can cause shorts or complete disconnections. Each wire should be tight with no exposed sections showing.
Technicians also check that the controller matches the panel’s voltage output. Wrong voltage compatibility can damage equipment. Double-checking wire polarity prevents costly mistakes that could harm both components.
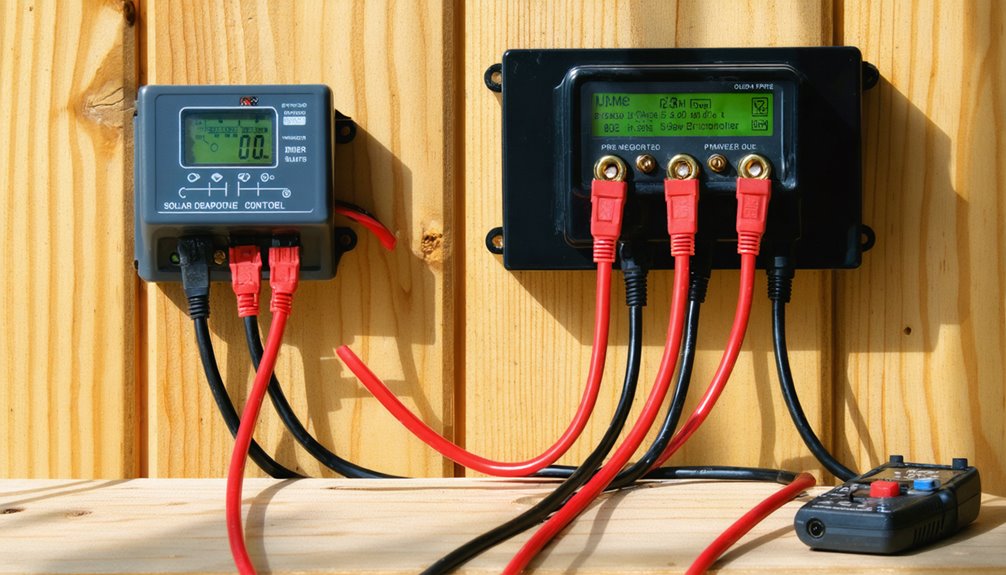
Testing and Verifying Your Solar Charging System
How do you know if your solar charging system is working properly? Testing and verifying your solar charging system requires checking multiple components. You’ll need a multimeter to measure your battery’s voltage after connecting it to the charge controller. This confirms proper connection and charging status. Your charge controller’s display shows real-time voltage and current readings. These numbers tell you if the solar panels are generating enough power. Many controllers also display error codes or alerts when there’s a problem with wiring or connections. A battery monitor tracks your battery’s state of charge. This helps prevent overcharging and over-discharging. You should also check your solar panel’s voltage output with a multimeter. The reading should match the panel’s expected output based on its wattage and current sunlight conditions. Additionally, consider insufficient solar generation during cloudy weather as a possible reason why your battery may be unexpectedly drawing power from the grid.
Positioning Solar Panels for Maximum Efficiency
Proper positioning of solar panels greatly affects how much power you’ll generate. When you connect the solar panel to your battery system, its angle and direction determine charging efficiency.
Solar panels work best when tilted between 30 and 45 degrees from the horizon. They should face the equator – that’s south if you’re in the Northern Hemisphere and north if you’re in the Southern Hemisphere. This positioning captures the most direct sunlight throughout the day.
Even small shadows from trees or buildings can cut your panel’s power output dramatically. Dirt and dust also block sunlight from reaching the cells. Many users report that seasonal adjustments help maintain peak performance as the sun’s path changes throughout the year. Incorporating adjustable solar panel mounts can further optimize panel angles, enhancing energy capture by up to 25% and contributing to overall solar efficiency.
Monitoring and Maintaining Your Solar Battery System
Regular checkups keep your solar battery system running smoothly for years. You’ll need to track voltage readings and watch your charge controller’s display. Most battery owners check these numbers weekly.
| Battery Type | Full Charge Voltage | Settings Needed |
|---|---|---|
| Lead-Acid | 12.6-12.8V | Standard mode |
| Lithium-Ion | 13.0-13.2V | Li-ion mode |
Your monitoring routine includes checking input voltage, output voltage, and current flow. Battery monitors show the state of charge and system health. You’ll spot problems early this way.
Worn connections and corroded wires cause system failures. That’s why owners inspect these parts monthly. They adjust charge controller settings to prevent overcharging. Different batteries need different settings. Lead-acid batteries charge differently than lithium-ion ones. These adjustments protect your investment and extend battery life. Regular maintenance, along with choosing quality components from reputable manufacturers, is essential for maximizing the longevity of your solar battery.
Conclusion
Solar panel battery charging systems have become more affordable and reliable. They’re now common in homes, RVs, and remote locations. The technology continues improving with better charge controllers and more efficient panels. Many people use these systems to reduce electricity costs and gain energy independence. Proper setup guarantees batteries charge safely and last longer. Solar charging provides clean, renewable power that’s especially valuable during power outages or in off-grid locations.